This is the the 5th blog post in the series about Azure Arc enabled Data Services.
The initial post can be found at Azure Arc for Data Services, part 1 – Intro and the whole collection can be found at Azure Arc enabled Data Services.
In this post I will focus on the task that is not directly to be made with the Azure Arc enabled Data Services, but still a vital part of the whole hybrid process – the reporting of the consumption usage and the metrics to Azure. For that purpose, and if you are using Direct Mode of connection, you will need to configure the Service Principal with its Tenant Id, Client Id and the Secret that would allow the Azure Arc enabled Data Services to safely connect and do the reporting.
The requirements
You will need to have an Azure Active Directory (AAD) configured and the respective permissions for the involved tasks.
If you will be following through with the scripts, on the machine you will be running, please ensure the AZ AD Module to be installed.
Creating Service Principal in Azure Portal
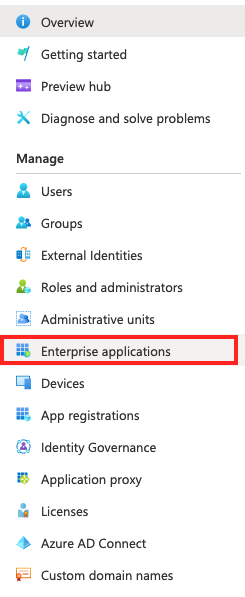 Start by navigating to your enterprise Azure Active Directory and selecting the “Enterprise Applications”. These Enterprise Applications are the AAD assets, such as User or Groups, but these one is focused more on the applications, allowing them to establish a trusted connections to specific Azure Resources. It will use token for authentication and it is considered to be the safest way to do this type of operations.
In a way, it will substitute the old ways of creating users, which will allow giving a more limited and controlled access.
An important point here is to store the credentials in a safe place, for example in Azure Key Vault, where the authorised team members can access them.
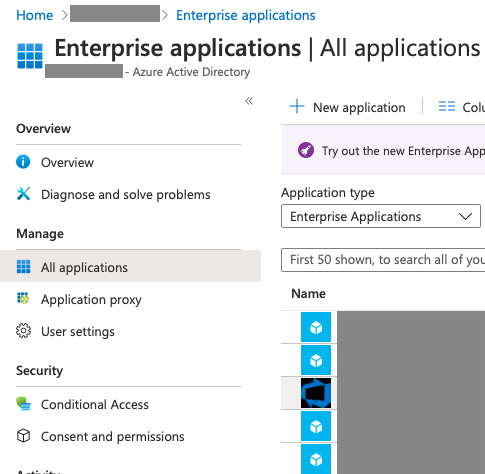 After entering the Enterprise Applications and being able to see and search through the existing ones, you can choose to create new Enterprise Application and if the application (Azure Arc enabled Data Services) does not exist yet, you will need to create a new custom one. And yes, such application integration does not exist at the moment of this article creation, naturally, since the Azure Arc enabled Data Services are still very much in preview.
Notice that while we are creating an Enterprise Application, it will result in creation of 2 entities – 1 in the Enterprise Application and the other (the one we shall have to edit and add a secret (or a certificate) will appear in the “App Registrations” blade.

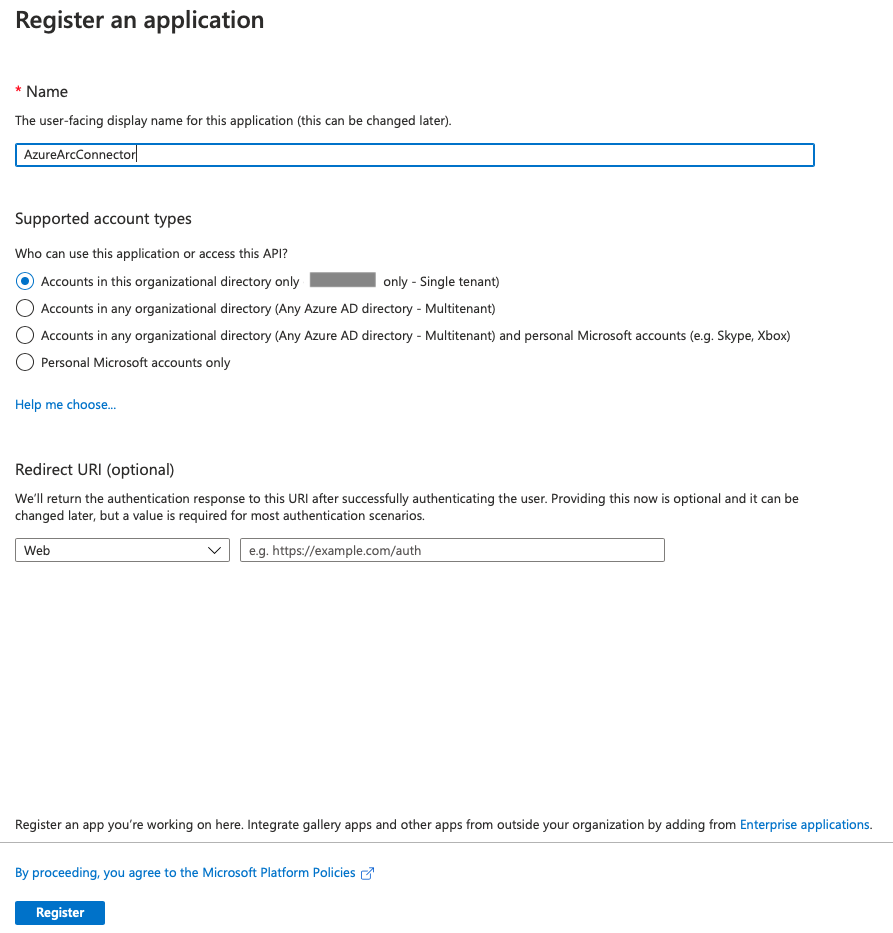
Input the name of your application Service Principal that will be used for further references and register it as a an application that we are working to integrate with Azure AD. I choose to call the Enterprise Application AzureArcConnector, defining the initial access to be limited to the organisational directory only, but do it according to your own project and environment requirements. There is no need for any redirect, as obvious and so I leave it empty.
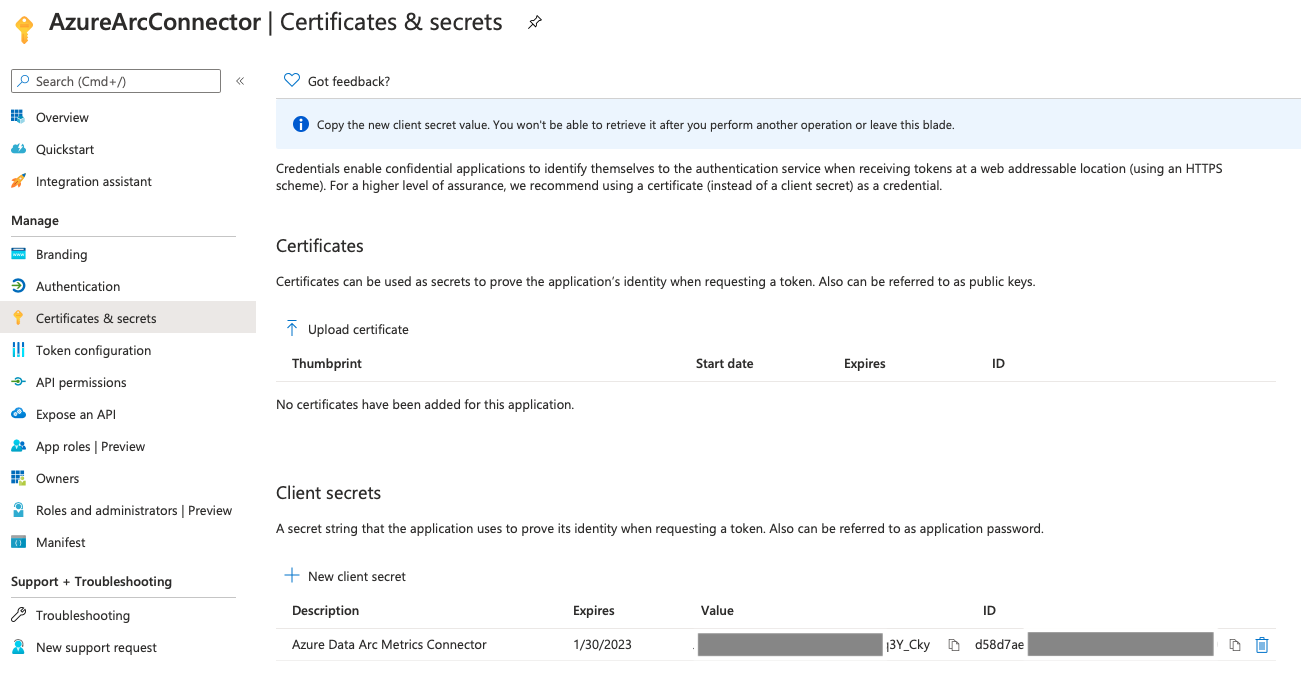
Now we can get back to the root of our Azure Active Directory and select the App Registrations blade, to finally find out that we already have our registration here , but the certificates and secrets are still missing:

We need to create a new secret, saving in a secure place the secret, since it won’t be available anymore after (but we can always create later more secrets and/or certificates)
 We just need to add a description and select wether the secret will expire after 1 year (default), 2 years or will never expire. I have selected 2 years in this demo, just be a little bit different … haha :)
The final result is presented on the image below:
Adding required permission on the Azure Subscription
In order to function properly the Service Principal need to have 2 permissions: Contributor & Monitor Metrics Publisher, that will to contribute to the subscription and more specifically to publish the collected metrics about service usage and performance.
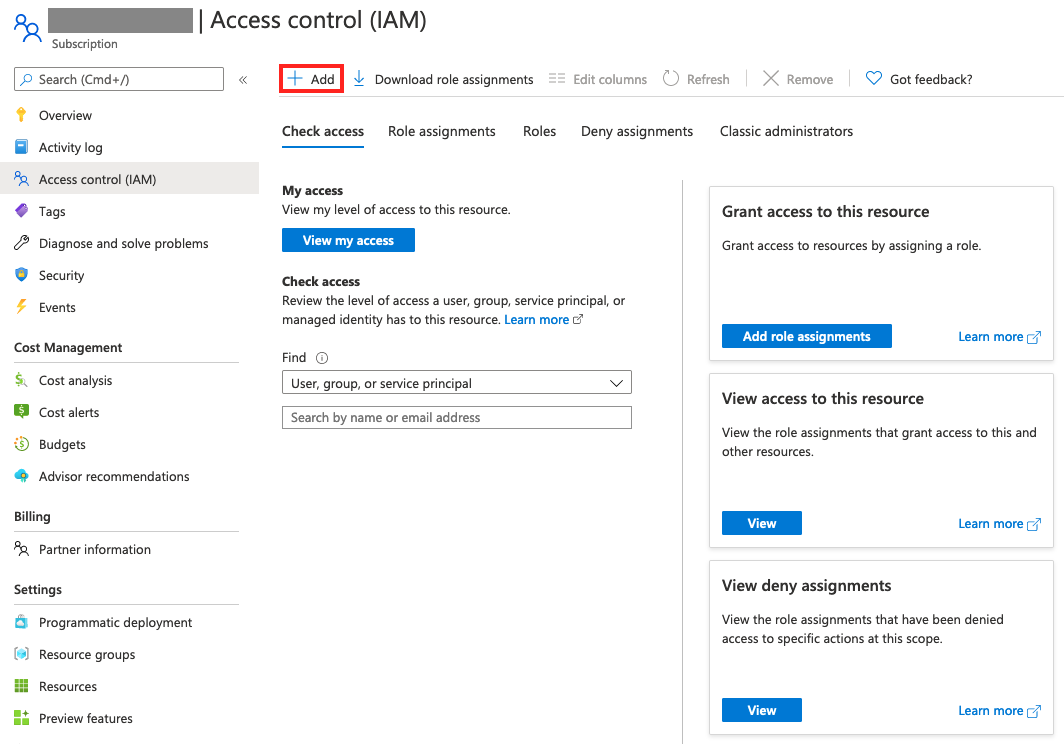 Navigate on Azure Portal into your subscription you are working with and select the IAM access control pane. From there select the “Add” button and specify the Enterprise Application and the respective permission that should be assigned to it.
As shown on the pictures below, I have selected the respective Enterprise Application “AzureArcConnector” and has attributed the 2 necessary permissions – Contributor and Monitor Metrics Publisher.
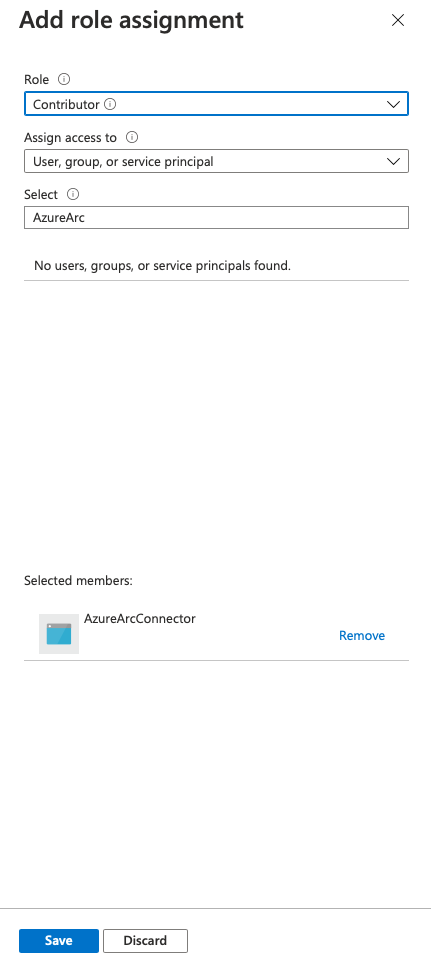
Subscription IAM adding Contributor
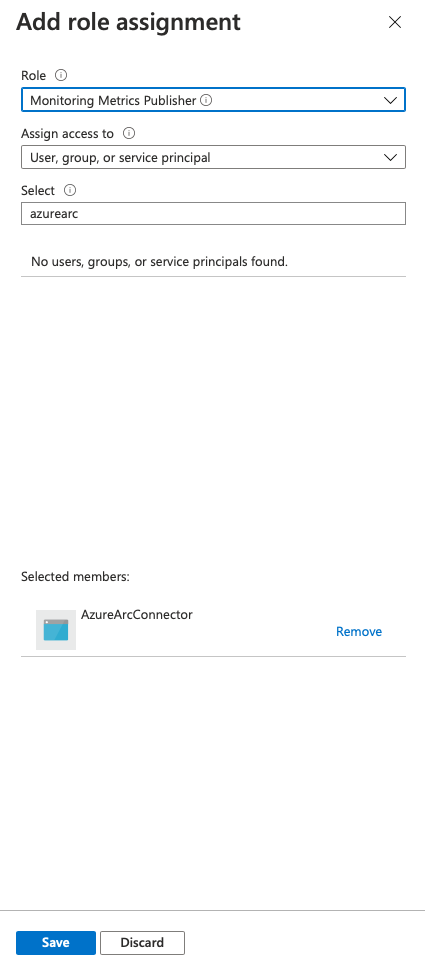
Subscription IAM adding Monitoring Metrics Publisher
That’s about it, you should have the 3 elements that are needed for a successful setup of the Azure Arc enabled Data Services Data Controller:
- Tenant Id – id of the Azure Active Directory, together with the Client Id it helps Azure to uniquely identify the referenced application
- Client Id/ApplicationId – the unique identifier of the application within the Azure Active Directory.
- Secret – the password generated with or without expiration date, that is used for the authentication of the Azure Arc Data Controller
Creating Service Principal through Powershell
If the above described steps seems like a complication, that’t because they truly are. One should understand Azure Active Directory and the permissions attribution on the subscription level at the Azure Portal. While I truly think this will become a reasonable requirements for a good Cloud-Aware Data Professional, right now it is still rather bulky and complicated thing to follow.
Would you like to go faster and simpler ?
This would mean that you execute precisely 3 short command lines … Yes, 3 short scripts from the command line.
Let’s create our Service Principal with the support from the AZ AD sp create-for-rbac command, where the requirement is just the name (plus the context of the subscription, if your account like mine has access to a number of subscriptions.
az ad sp create-for-rbac --name AzureArcConnector
This command will deliver you a similar output like the sample one below, indicating the appId (Application Id, also known as a Client Id), tenant (Tenant) and the password (secret)
"appId": "2e72adbf-de57-4c25-b90d-2f73f126e123",
"displayName": "AzureArcConnector",
"name": "http://AzureArcConnector",
"password": "5039d676-23f9-416c-9534-3bd6afc78123",
"tenant": "72f988bf-85f1-41af-91ab-2d7cd01ad1234"
As for the permission assignment, it is done through the AZ ROLE ASSIGNMENT CREATE commandlet, where we just need to indicate our appId as a “assignee” parameter, and the respective Subscription as a “scope” parameter:
az role assignment create --assignee '2e72adbf-de57-4c25-b90d-2f73f126e123' --role 'Monitoring Metrics Publisher' --scope subscriptions/12345-ABCDEF-67890-12345
az role assignment create --assignee '2e72adbf-de57-4c25-b90d-2f73f126e123' --role 'Contributor' --scope subscriptions/12345-ABCDEF-67890-12345
Looks a little bit easier, right ? :)
This short blog post was dedicated on how to make sure that you are able to create a Service Principal for the communication and reporting of the usage and metrics, when connecting Azure Data Controller in Direct Mode.
to be continued with Azure Arc enabled Data Services, part 6 – Data Controller